IoTで使うPython入門Step1-I2C LM75Bで温度測定 (5) OLEDへ表示
温度データの取得はスムーズにできました。小型の表示器にデータを表示します。
0.9インチ128×64のOLEDグラフィック・ディスプレイです。Adafruitから入手しました(このモデルの販売は終了しているようだ)。ebayやアマゾンなどからも入手できます。インターフェースはI2CとSPIがあり、両用もしくは、どちらかに限定されたモデルがあります。SPIのほうが表示が速いかもしれません。ここではI2Cで使います。
●接続
3ピン2列のコネクタがついています。ちょうどGPIOの1~6ピンに挿したら利用できる配置になっています。すでに1、3、5、6ピンはLM75Bの配線に使っているので、ジャンパ・ピンで配線しました。LEDの配線は省略しました。
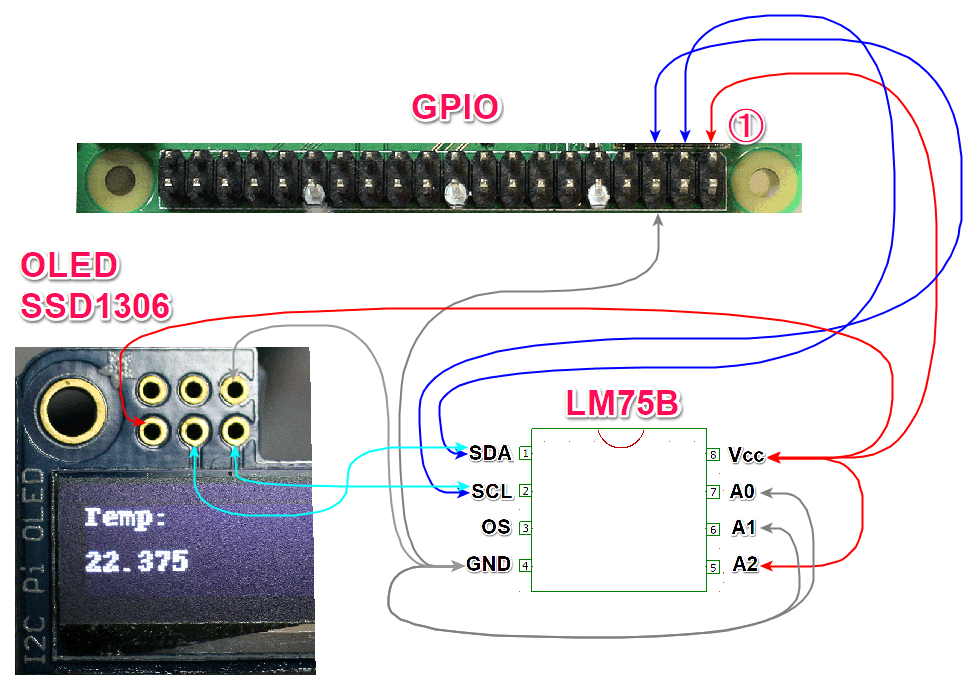
ebayで購入したI2C用OLEDの接続です。
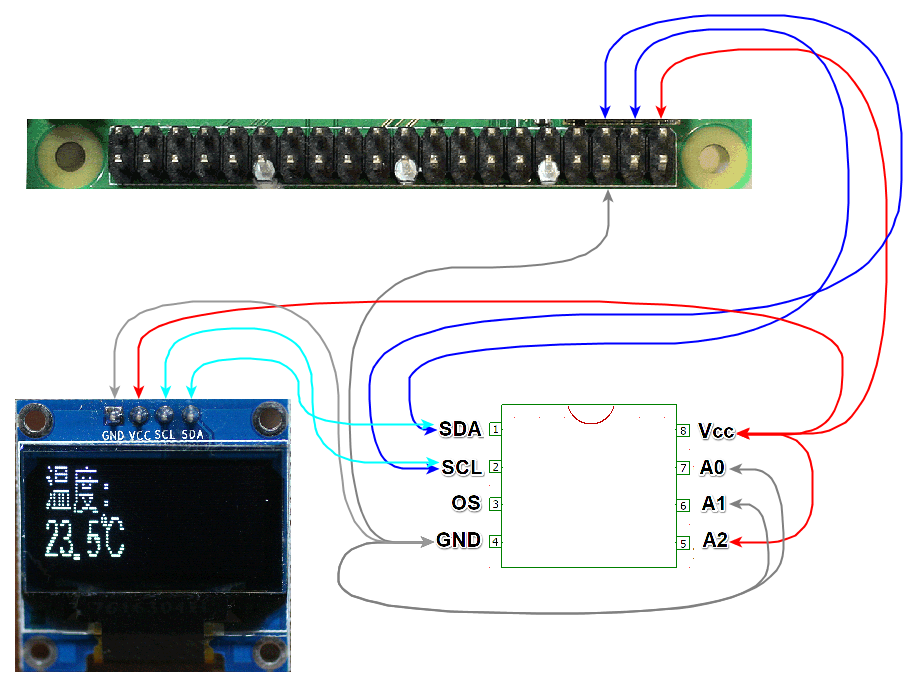
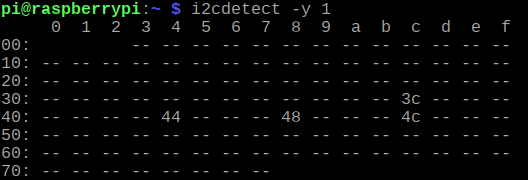
i2cdetect -y 1 で0x3cに見つけました。
●ドライバのインストール
https://github.com/adafruit/Adafruit_Python_SSD1306
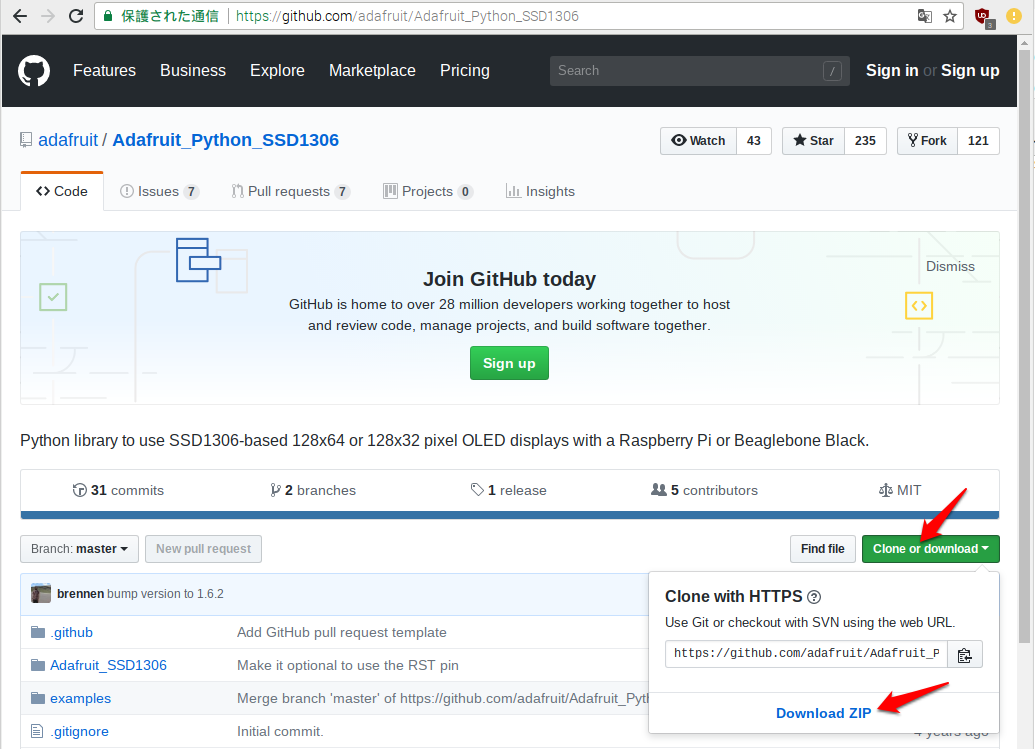
からzipファイルをダウンロードします。Downloadsフォルダに入っているAdafruitのzipファイルをアーカイバで解凍します。
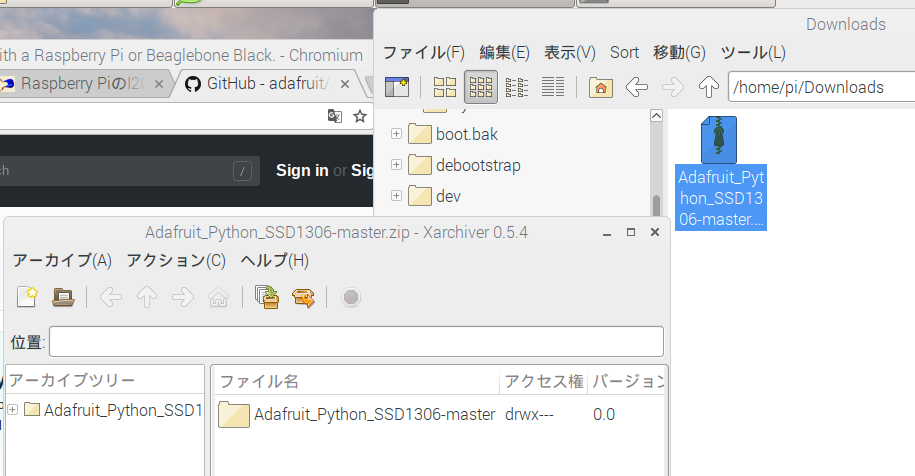
Adafruit_Python_SSD1306-masterフォルダができます。ターミナルから、
| cd Downloads/Adafruit_Python_SSD1306-master sudo python setup.py install |
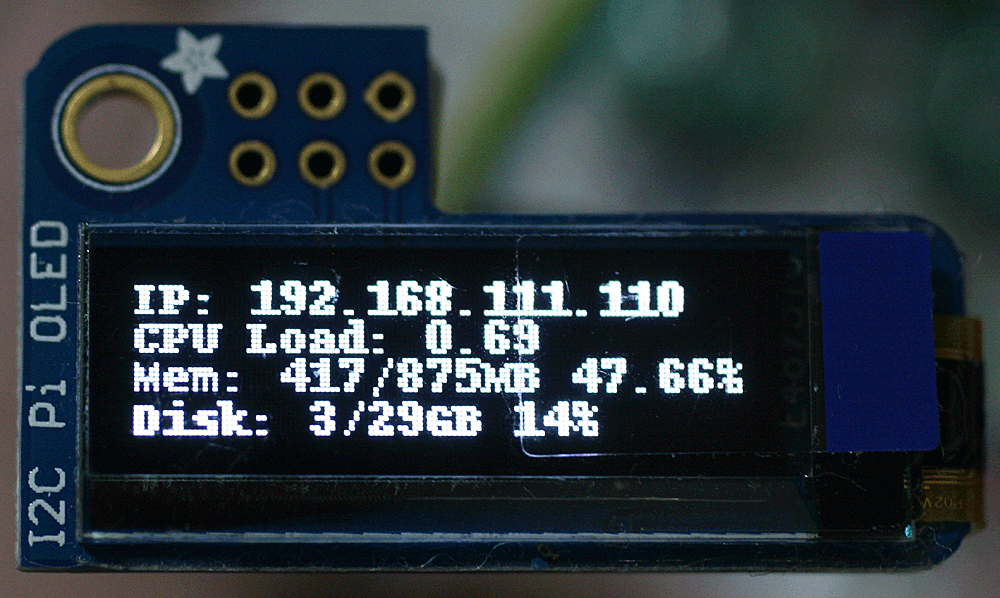
インストールが終わったら、サンプルstats.pyを動かします。このページの最初の写真の画面が出ます。
| python examples/stats.py |
●プログラム
Muの中ではAdafruitのライブラリのパスを解釈できないようで、動きません。エディタとして使います。
◆Step1 必要な部分だけを取り出す
stats.pyのプログラムの中から必要と思われる部分だけを残しました。実行部分では、2行文字列を表示します。ターミナルで動かすときは実行権を付けてください(第3回を参照)。
# Copyright (c) 2017 Adafruit Industries
# Author: Tony DiCola & James DeVito
import Adafruit_SSD1306

from PIL import Image
from PIL import ImageDraw
from PIL import ImageFont

# Raspberry Pi pin configuration:
RST = None # on the PiOLED this pin isnt used

# 128x32 display with hardware I2C:
disp = Adafruit_SSD1306.SSD1306_128_32(rst=RST)

# Initialize library.
disp.begin()

# Clear display.
disp.clear()
disp.display()

# Create blank image for drawing.
# Make sure to create image with mode '1' for 1-bit color.
width = disp.width
height = disp.height
image = Image.new('1', (width, height))

# Get drawing object to draw on image.
draw = ImageDraw.Draw(image)
# Draw a black filled box to clear the image.
draw.rectangle((0,0,width,height), outline=0, fill=0)

# Draw some shapes.
# First define some constants to allow easy resizing of shapes.
padding = -2
top = padding
bottom = height-padding

# Move left to right keeping track of the current x position for drawing shapes.
x = 0

# Load default font.
font = ImageFont.load_default()

while True:
    # Draw a black filled box to clear the image.
    draw.rectangle((0,0,width,height), outline=0, fill=0)
    # Write two lines of text.
    draw.text((x, top), "abcdefg", font=font, fill=255)
    draw.text((x, top+16), "12345678900000111223", font=font, fill=255)
    # Display image.
    disp.image(image)
    disp.display()
◆Step2 設定部分だけを残す
モジュールとして利用するとき、while以下は使用例なのでその部分を削除し、ファイル名をoledModule.pyで保存しました。
デフォルトのフォントは小さくて読みずらかったので、最後の45行のように、/usr/share/fonts/truetype/freefontに入っていたフォントに変更しました。大きさも8から16に変更しました。
# Copyright (c) 2017 Adafruit Industries
# Author: Tony DiCola & James DeVito
import Adafruit_SSD1306

from PIL import Image
from PIL import ImageDraw
from PIL import ImageFont

# Raspberry Pi pin configuration:
RST = None # on the PiOLED this pin isnt used

# 128x32 display with hardware I2C:
disp = Adafruit_SSD1306.SSD1306_128_32(rst=RST)

# Initialize library.
disp.begin()

# Clear display.
disp.clear()
disp.display()

# Create blank image for drawing.
# Make sure to create image with mode '1' for 1-bit color.
width = disp.width
height = disp.height
image = Image.new('1', (width, height))

# Get drawing object to draw on image.
draw = ImageDraw.Draw(image)

# Draw a black filled box to clear the image.
draw.rectangle((0,0,width,height), outline=0, fill=0)

# Draw some shapes.
# First define some constants to allow easy resizing of shapes.
padding = -2
top = padding
bottom = height-padding

# Move left to right keeping track of the current x position for drawing shapes.
x = 0

# Load default font.
#font = ImageFont.load_default()
font = ImageFont.truetype('FreeMono.ttf', 16)
◆Step3 LM75Bの表示にグラフィック部分を追加して利用
メインのプログラム側では、先ほどのグラフィック・モジュールを最初にimportして利用します。そのモジュールを使うときは、関数や変数の前にOLED.を付け加えます。
| import oledModule as OLED |
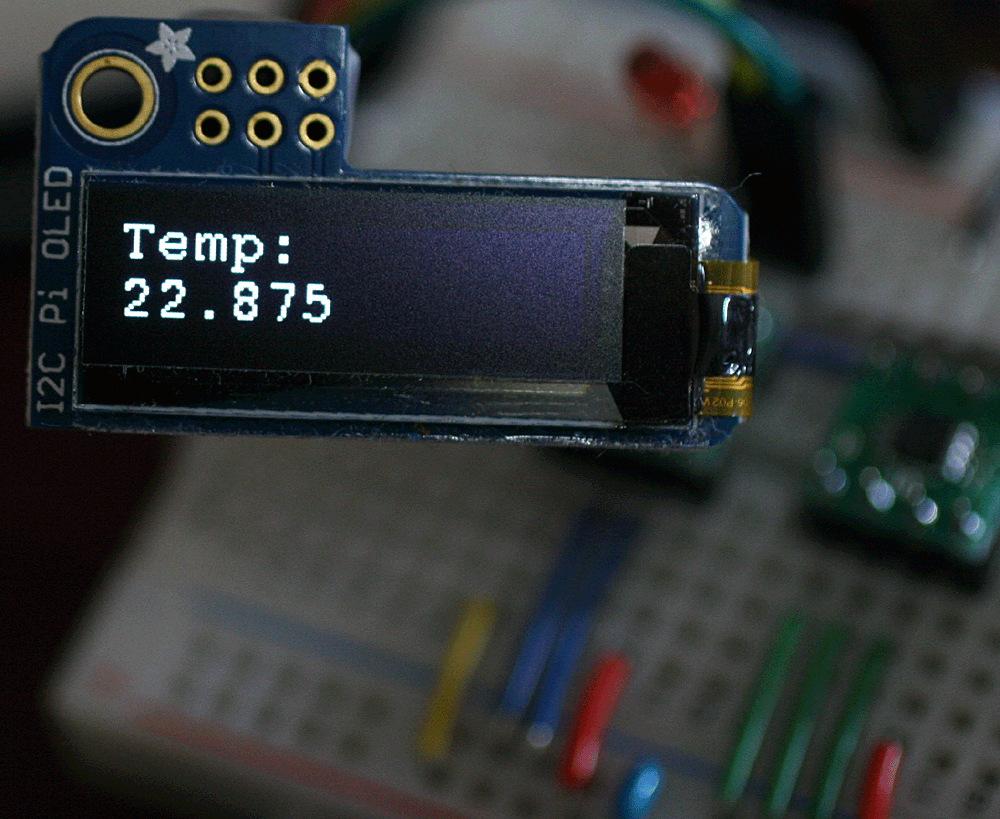
前回作ったlm75.pyにグラフィックの表示部分を追加しました。
26℃を超えるとLEDが点滅するのですが、ディスプレイにも、「Temp: #over」と表示が変わるように修正しました。
import smbus
import time
import oledModule as OLED

i2c = smbus.SMBus(1)
addr = 0x4c # LM75B NXP. TI is 9bit
Tos = 0x03 # 9bit default 0x5000 80

def sign16(x):
    return (-(x & 0b1000000000000000) | (x & 0b0111111111111111))

# main
readTos = i2c.read_i2c_block_data(addr, Tos, 2)
print("Tos ", readTos)
i2c.write_byte_data(addr, Tos, 0x1a) # set 26.0C
OLED.disp.clear()

while 1:
    OLED.draw.rectangle((0,0,OLED.width,OLED.height), outline=0, fill=0)
    data = i2c.read_i2c_block_data(addr, 0, 2)
    raw = data[0] * 256 + data[1]
    raw_s = sign16(raw)
    temp = (raw_s >> 5) * 0.125
    print(temp, "C", readTos[0])
    if temp >= readTos[0] :
        OLED.draw.text((0, OLED.top), "Temp: #over", font=OLED.font, fill=255)
    OLED.draw.text((0, OLED.top), "Temp: ", font=OLED.font, fill=255)
    OLED.draw.text((0, OLED.top+16), str(temp), font=OLED.font, fill=255)
    OLED.disp.image(OLED.image) # Display image.
    OLED.disp.display()
    time.sleep(3)
実行中の様子です。